
How to Measure Height at Home: A Step-by-Step Height Measurement Guide
Measure height at home with a wall, a book, and a tape measure. This guide covers setup, posture, repeat readings, and how to record results in cm and feet and inches.
1. Fix the measuring conditions before you start
Pick one wall and keep using that same wall. The best surface is vertical, flat, and free of thick baseboards. The floor should be hard and level, such as tile, wood, or concrete. Thick carpet, foam mats, and soft slippers reduce accuracy because the feet sink and the heels do not sit at a stable zero point.
If you plan to track height over time, keep the measuring time consistent. A morning reading can be slightly taller than a late-evening reading, so compare morning with morning or evening with evening. That matters whether the number is 172.7 cm, 165.1 cm, or 110.0 cm.
Before the height measurement starts, remove shoes, bulky socks, hats, hair clips, and anything that adds height above the scalp. Flatten thick hair as much as possible. You are measuring body height, not hairstyle height.
2. Use simple tools, but use them the same way every time
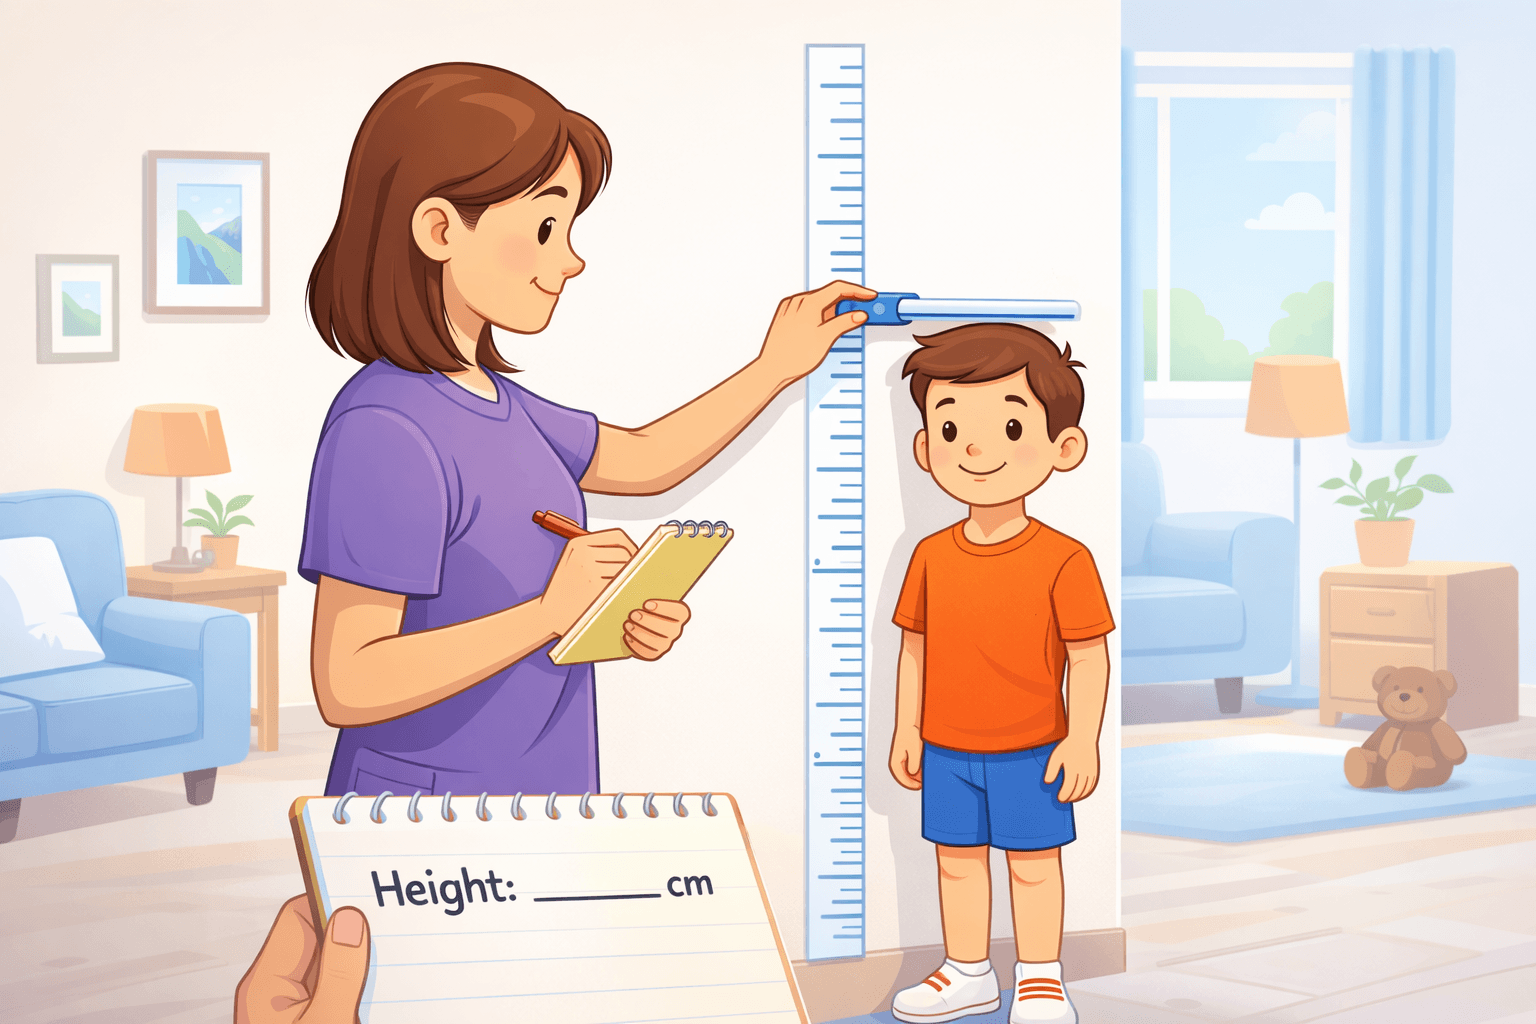
You need six things: a tape measure, a rigid flat object such as a hardback book, a pencil or low-tack tape for marking the wall, a mirror or phone camera, a note for recording the number, and ideally a second person. The second person is useful because one person can hold the book square while the other checks posture.
A steel tape or a firm measuring tape is better than a curled cloth tape. The headpiece should have one straight edge that can sit flat on the wall. If you are recording in both systems, keep the main reading in centimeters first, then convert it to inches and feet plus inches. For example, 172.7 cm equals 68.0 in, which is 5 ft 8 in.
A home setup does not need clinic-grade hardware, but it does need consistency. The same tape, the same wall, and the same recording method will give you better trend data than changing equipment every time.
3. Set the body position before you read anything
Stand with both feet flat and stable before moving closer to the wall. Feet can touch each other or sit slightly apart, but weight should stay even on both sides. Knees should be straight, heels must stay down, and the body should not rock backward or forward.
Bring the heels toward the wall first. Then let the buttocks, upper back, and back of the head come close naturally. Not everyone will touch the wall in four places, and that is fine. Do not force the ribs up, tighten the lower back, or lift the chin just to look taller.
Arms should hang naturally, shoulders should stay relaxed, and the body should feel upright rather than stretched. A good height measurement looks like normal standing with better control, not like a posture drill.
4. Keep the head level or the number will drift
The head should stay neutral. Do not look up at the tape and do not look down at the floor. The eyes should face straight ahead. In practical terms, if the chin goes up, the reading rises. If the chin drops, the reading falls.
A mirror or a front-facing camera helps. Check head position before the book touches the head, not after. Once the head moves during the reading, the height measurement baseline is no longer clean.
This matters even more with children. Many children lift the chin or shrink the neck when they see the book coming down. Ask them to look at a point straight ahead, then place the headpiece.
5. Place the book square, then make a thin mark
Press one flat side of the book against the wall and slide it down until it just touches the top of the head. The key words are square and level. The book should stay flat against the wall and parallel to the floor. If it tilts, the number is wrong.
Lightly compress thick hair so you mark the actual top of the head, not the top of the hairstyle. Once the book is in place, make a thin pencil line or place a small piece of tape at the lower edge. A wide mark can add several millimeters of uncertainty.
For solo height measurement, there are two reliable options. One is to fix the tape vertically on the wall and read the mark using a mirror or a phone recording. The other is to make the mark first, step away, and then measure from the floor to the mark. Both work if the wall, tape, and headpiece stay stable.
6. Read the mark from the floor, then record cm and ft/in
Set the zero point of the tape exactly where the floor meets the wall, then measure vertically to the mark. Do not start from the top of a baseboard, the edge of the tape housing, or a guessed point above the floor. A bad zero point can shift the result by more than 1.0 cm.
Record the main result to 0.1 cm if possible. Then write the matching imperial value. Example: 172.7 cm = 68.0 in = 5 ft 8 in. Another example: 165.1 cm = 65.0 in = 5 ft 5 in. For a child, 110.0 cm = 43.3 in = 3 ft 7.3 in.
Write down the date, time, unit, and any note that may affect the reading. A proper height measurement record is more than one number. It should tell you when the reading was taken and under what conditions.
7. Take three readings and keep the median or the tight average
Step away from the wall and repeat the full setup two more times. Do not stay frozen in one position and read the same mark three times. A repeatable height measurement means three separate attempts, each with fresh posture, fresh head position, and a fresh mark or read.
If your three readings are 172.6 cm, 172.8 cm, and 172.7 cm, the process is stable. You can record 172.7 cm as the final value, which is about 5 ft 8 in. If the spread is larger than 0.5 cm, something in the setup changed and you should repeat the full sequence.
For growth tracking, sports forms, clothing, or medical notes, repeated readings matter more than a single lucky number. Repetition gives the result credibility.
8. For children, slow the process down and control the posture
Do not rush a child. Let the child settle both feet first, then adjust heels, knees, hips, upper back, and head position. The two most common problems are tiptoeing and chin lifting. Both make the reading look taller than it really is.
It helps to have one adult control posture and one adult place the headpiece. Tell the child to look at a fixed point on the wall at eye level. If the child is very young, take two rounds of two readings and keep the most stable value.
Separate standing height from recumbent length. Infants and children who cannot stand still should not be measured with an adult wall method. Do not mix lying length with standing height in the same growth record.
9. Measuring yourself alone: use video, not guesswork
For solo height measurement, tape the measuring tape to the wall, start a front-camera video or a timer photo, get into position, and lower the book onto the head without turning to look sideways. Hold the book in place for 1 to 2 seconds, then read the result afterward from the video or from the wall mark.
A common do-it-yourself method discussed online is to lie on the floor with the feet against a wall and measure from the wall to the top of the head. That can be useful when no helper is available, but it is closer to body length than true standing height. If you need a clean adult standing measurement, the wall method is still the better standard.
The solo method becomes reliable only when the routine is fixed: same wall, same tape, same book, same time of day, same camera angle, same recording format.
10. The mistakes that make readings swing up and down
The main errors are predictable: measuring on carpet, starting above the floor, letting the heels float, lifting the chin, using a tilted book, drawing a thick mark, and writing only one rushed reading. Any one of these can shift a height measurement by several millimeters or more.
Another frequent problem is mixing units and conditions. One reading is written as 172 cm, another as 5 ft 8 in, another with shoes on, and another late at night. The numbers look inconsistent because the method is inconsistent, not because the body changed overnight.
Once you remove those errors one by one, home height measurement becomes much more stable. The process is simple, but it has to be standardized.
11. Save the final result in a usable format
A practical record should include date, time, subject, reading one, reading two, reading three, final result, unit, and notes. A clean entry might look like this: 2026-04-12, 7:30 AM, adult standing, 172.6 cm / 172.8 cm / 172.7 cm, final 172.7 cm, 68.0 in, 5 ft 8 in.
For adults, one well-controlled reading every 3 to 6 months is usually enough. For children and teenagers, monthly tracking can make sense, but only if the method stays the same each time.
If you want the short version, remember this order: choose the wall, fix the time, remove shoes, stand tall without stretching, level the head, place the book square, mark the wall, read from the floor, repeat three times, and save the final result in both cm and feet and inches.
Try the visual height comparison tool
Open the board to compare heights in cm or feet plus inches, save a board, or export a clean visual chart.
Open the tool